Final Stretch
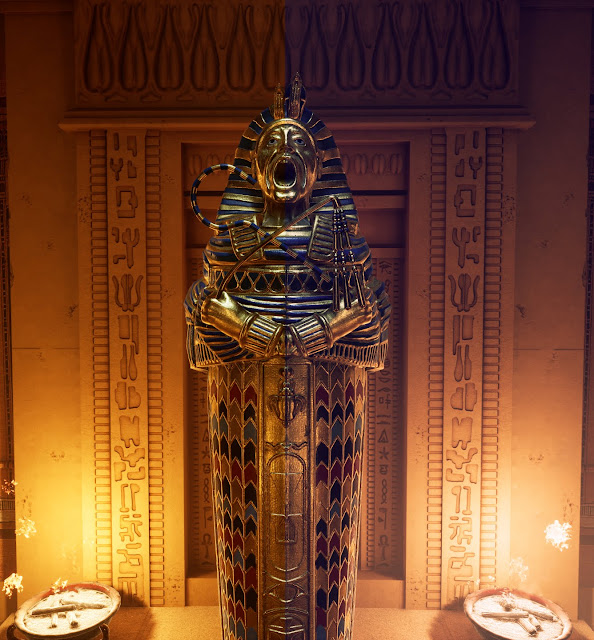
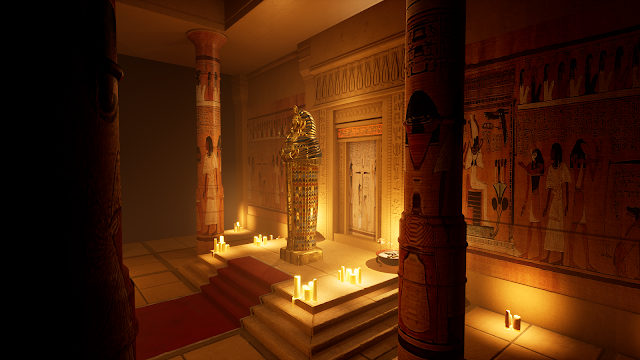
LUTs and Post Processing Creating the Look Up Table After getting the initial lighting, I wanted to experiment with colour grading. For this, I took a high definition screenshot of my centerpiece, and then took it to Photoshop where I added multiple filters and layers to enhance or change the look of the lighting in the background. I then Applied the filter layers to a neutral LUT image and exported the new LUT as a PNG and imported that into Unreal Engine. Once the modified LUT was in engine, I changed some texture settings and then applied it to a post process volume in the 'colour grading' tab. This changed the entire environment's lighting to what I had in Photoshop. I wanted to take some of the orange out and and some more cold light which I feel like I was successful. It's not perfect at in my opinion, I feel like what I did wasn't really and enhancement, but more of a preference thing as I feel like some people could go either way, however, I pref...